3D Printing in the laboratory

Although not strictly a patient case, I will discuss the applicability of 3D printing in the laboratory in two particular problems which presented itself in our laboratory.
Case 1
It so happened that a patient pulled the two electrodes of our iontophoresis machine with a forceful jerk, which caused the thin copper cables inside the insulating holder as shown below (cut open afterwards) to sever. See red and black cables below.

A spare cable was fortunately available from Tygerberg Hospital at the time to continue testing patients.
The damage to this cable made the iontophoresis machine unusable. Upon enquiry from the manufacturer, the cable was replaceable but would cost 320 euro (~ZAR5500) and would take weeks to order from Europe. At this bizarre price I reverted to try fix this cable for our laboratory (at least for a spare one should the new one be damaged in the future).
A multimeter was used to test which wires have been damaged and it turned out that 3 of the 4 connecting wires were broken.
Upon removing the thin insulating layers of the wires, the break in the connections were identified and the cables which I had available (recycled from old non-functioning ear phones) were used to solder in place on the connecting electronic chip board. See picture below.


The connecting electronic chip, shown above still needed proper isolation, and since I do have a 3D printer at home, I fairly quickly designed a small isolating box in which the chip would fit.

This was printed with PLA (polylactic acid – a biodegradeable plastic most often used in 3D printing) and the chip was Isolated and the box sealed with a hot glue gun and a soldering iron.
Case 2
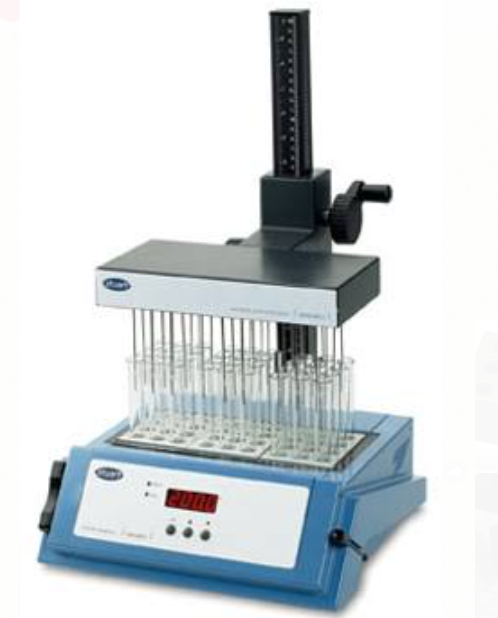
While developing a method for Vitamin A measurement on the HPLC, during sample extraction, a batch of samples need to be dried on the Nitrogen Gas dryer. It so happened that the tubes which we used (high volume tubes) did not fit the current heating blocks used.
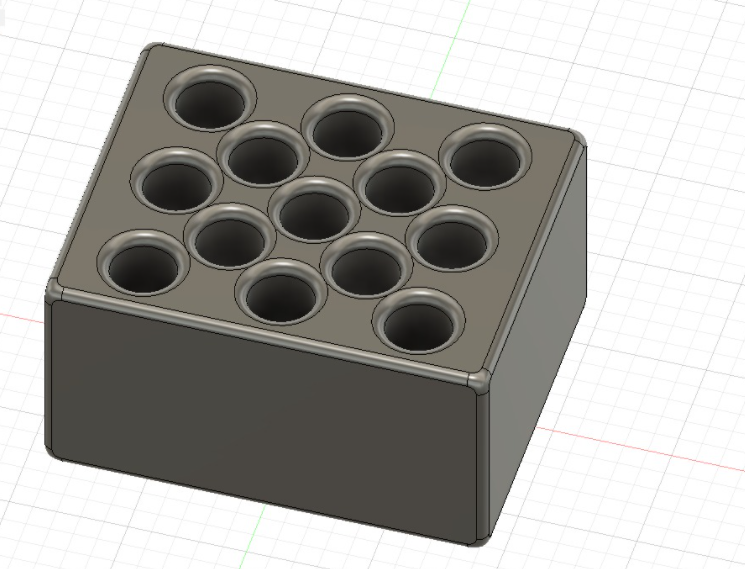
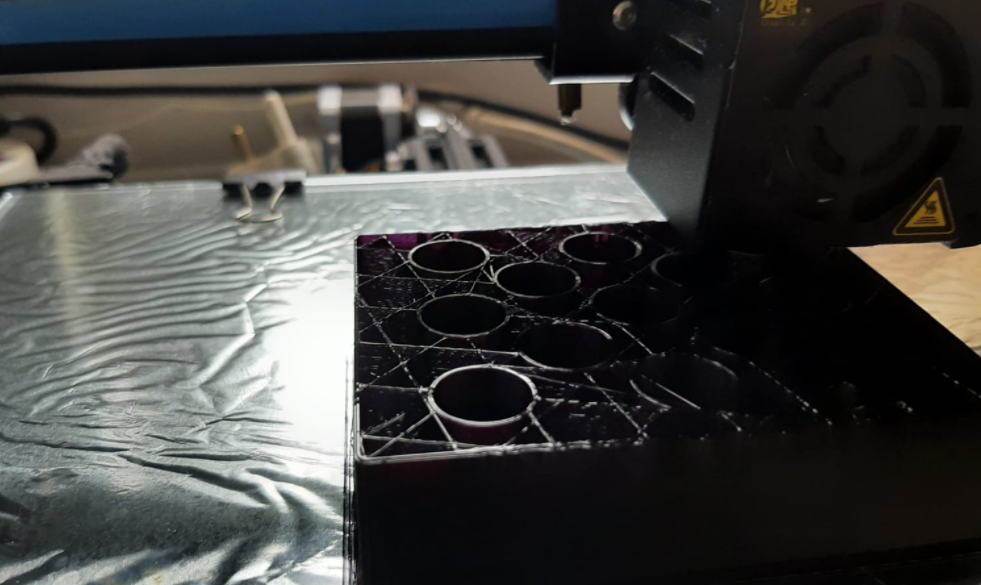
Our scientist requested I print a set of tube holder blocks to fit the holder for the nitrogen drying gas.
The holes in the aluminium heating blocks could also be drilled bigger and deeper to fit the tubes but that would make them unusable for another application with smaller tubes.
See below:


Apart from 3D printing a new button for our toasted in the communal kitchen, 3D printing 60-well reaction plates for Tissue Immunology etc, I’m often requested by certain people in the lab to print a certain part which is otherwise unobtainable in a reasonable time / at a reasonable cost.